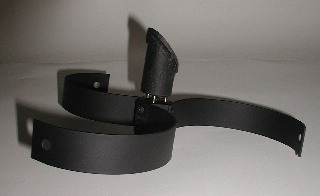
First assemble your spider and turn in the collimation screws about a 1/4 of an inch. This will give you some adjustment room when the spider is installed.
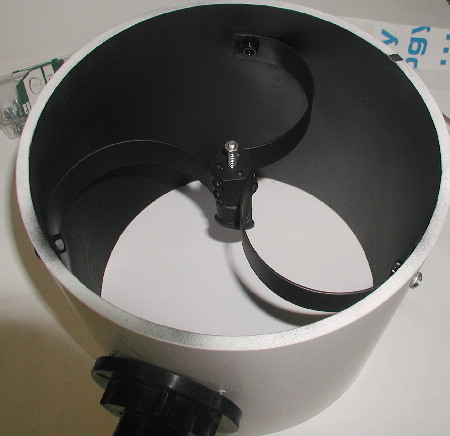
Next lay your telescope on its side, this will prevent tools and such to drop onto your primary mirror. Next insert the spider into your tube. You will need to compress the spider vanes a little. The spider will probably hold itself in place. Gently slide the spider into the tube until it is close to being in position.
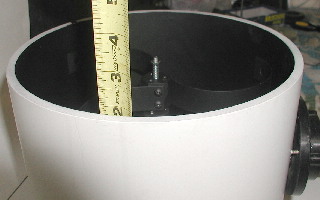
Look through you focuser, and adjust the spider until your secondary mirror looks centered in your focuser.
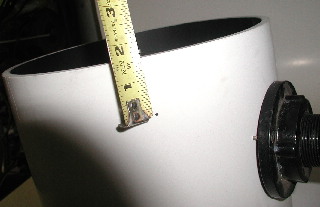
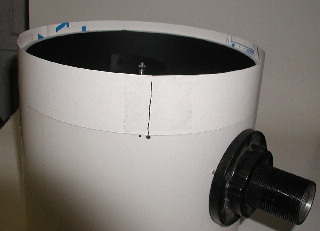
Measure from the top of the tube to the center of the spider's mounting hole.
Now mark the distance on the outside of your tube.
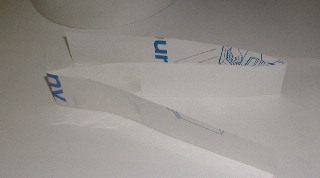
Find and cut a piece of paper long enough to wrap around the circumference of the tube.
Take the paper and fold it into three even segments. Mark the edges.
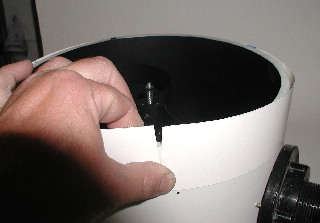
Now tape the paper on your tube with one edge lining up with the mark you made earlier. Make sure that the paper is tight and in a straight line. This will automatically make everything square.
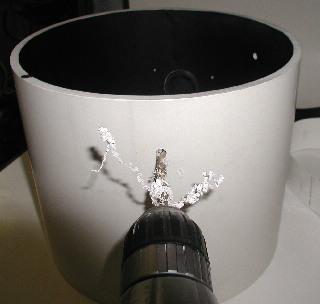
Next mark and drill your holes. The holes should be large enough to fit a 1/4-20 screw.
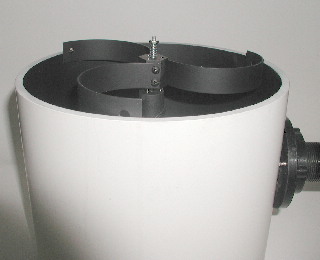
Now it is time to install your curved vane spider. Make sure that your screws are as short as possible, as not to cause diffraction spikes. Paint all screws, nuts and scratch black. Your installation is complete. You can now collimate your telescope.